How to Resurface Worn Concrete Like a Pro: A Step-by-Step Guide for Homeowners
Transform your concrete surfaces with expert techniques!
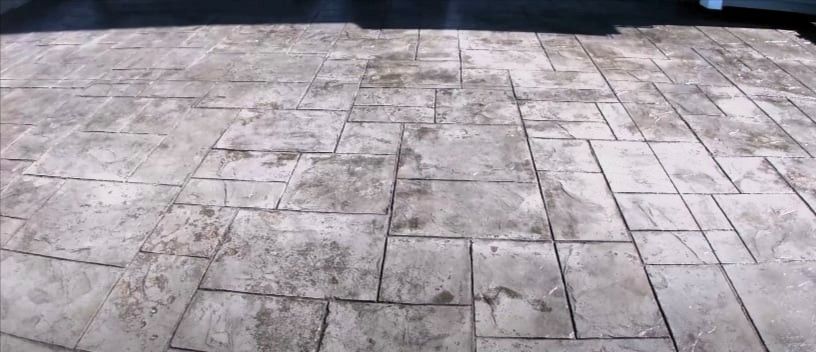
Remember when seeing cracks in concrete meant a big deal, like bringing in heavy equipment for repairs? Well, those days are gone! Now, concrete resurfacing is the way to go—it's easy on the wallet and doesn't need those drastic measures of before. It's all about giving your concrete a facelift, making it look smooth and new, and guess what? You can totally do it yourself.
This guide will walk you through every step. It's perfect for DIY enthusiasts who want to spruce up their space and add some extra value to their property with just their hands and, of course, a bit of concrete resurfacing. Let's dive in!
Understanding Concrete Resurfacing
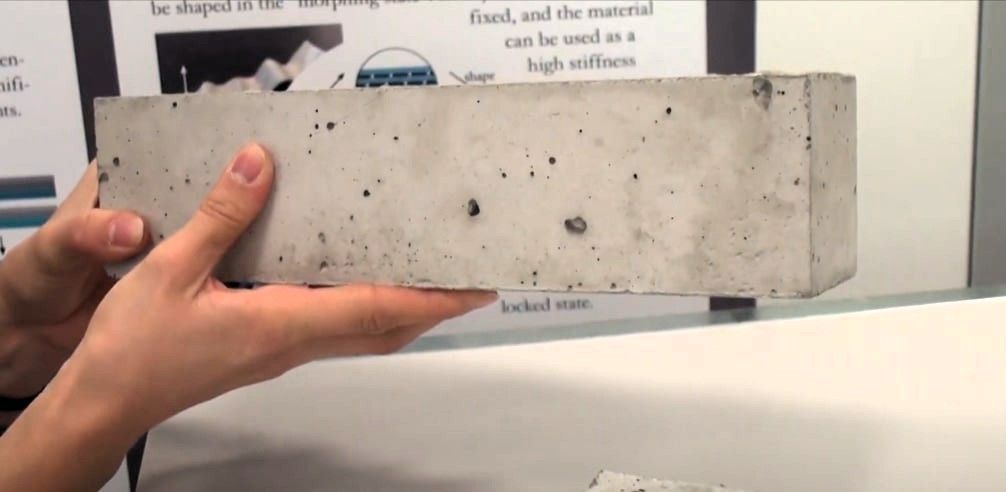
A concrete resurfacer is a mix of Portland cement, sand, polymer goodies, and even color tints if you're feeling fancy. It's great for filling in those annoying cracks and divots and giving your concrete a fresh look.
What is the real secret to making it look awesome? Prep work. You have to make sure the surface is clean, dry, and free from any junk that could prevent the resurfacer from sticking properly. Also, picking the right time to do it is super important—you want to avoid trying this when the weather's not playing nice.
Resurfacing might sound a bit technical, but it's pretty doable. It's an art and science mix, needing a steady hand and a sharp eye for detail. It might seem a bit intimidating at first, but follow the steps, and before you know it, you'll have a brand new pathway or patio that you brought back to life.
Step 1: Prepping Your Concrete
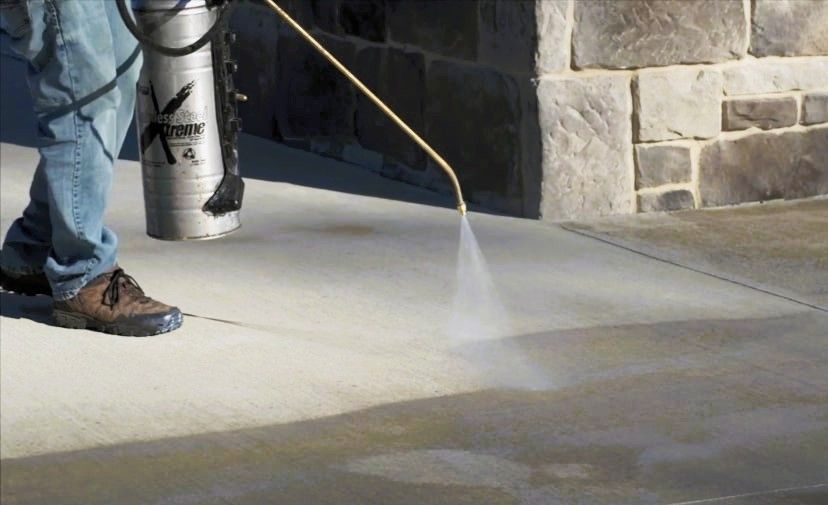
Start by giving the concrete surface a good clean, stripping away any paint, sealants, or coats down to the bare concrete. A gas-powered pressure washer is your best friend here - it's got the power to remove all that stubborn dirt. Just hold the wand about 6 to 8 inches from the surface at a 25-degree angle and sweep it across in a steady, even motion to get a nice, uniform clean.
Do some stubborn spots with mildew or algae need to be hit with a concrete wash first? This helps tackle those tough areas, ensures your pressure washing is as effective as possible, and gives you the cleanest surface to work on.
Step 2: Repairing Spalled Areas
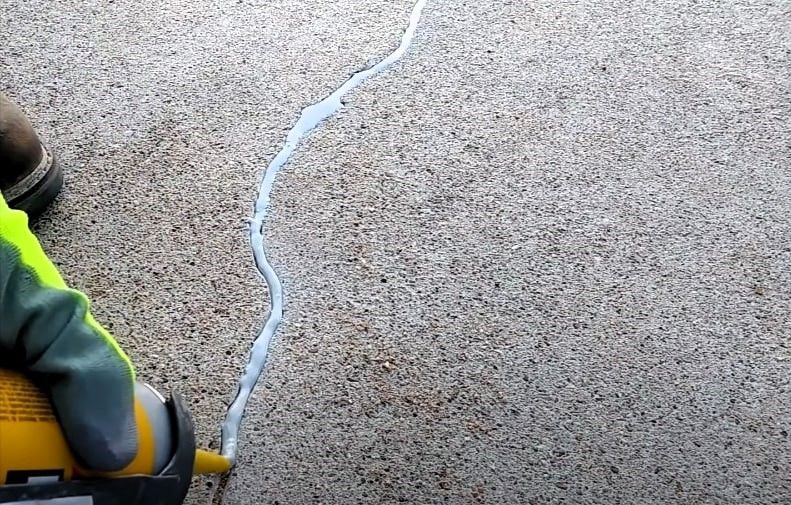
Spalling, with all those ugly pits and crumbles, can be fixed right up with your concrete. Just make sure the concrete's a bit damp from cleaning, then mix up your resurfacer. You'll want to mix eight parts of the resurfacer mix into every part of the water and stir it with a paddle mixer.
Next, fill in those spalled spots with the mix and use a finish trowel to smooth everything out. You're aiming for a nice, level surface all over, so make sure you really fill in all those pits.
After you've applied it, the mix needs to be set. You'll know it's ready when you can stand on the patches without making a dent, usually in about 2 to 5 hours.
Step 3: Mixing and Pouring the Resurfacer
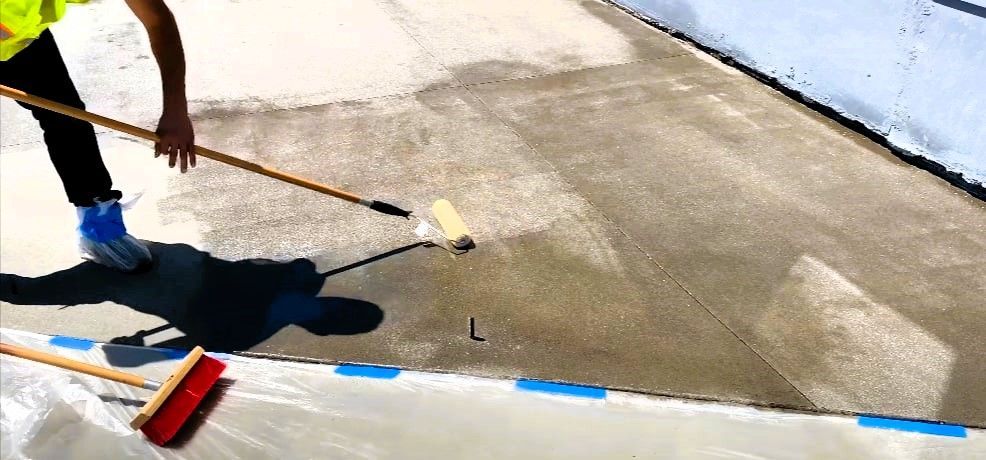
It's time to mix your resurfacer for the entire concrete area. The workability window is about 20 minutes, ensuring that you mix enough for the area you will cover in that period—typically around 17 square feet per batch.
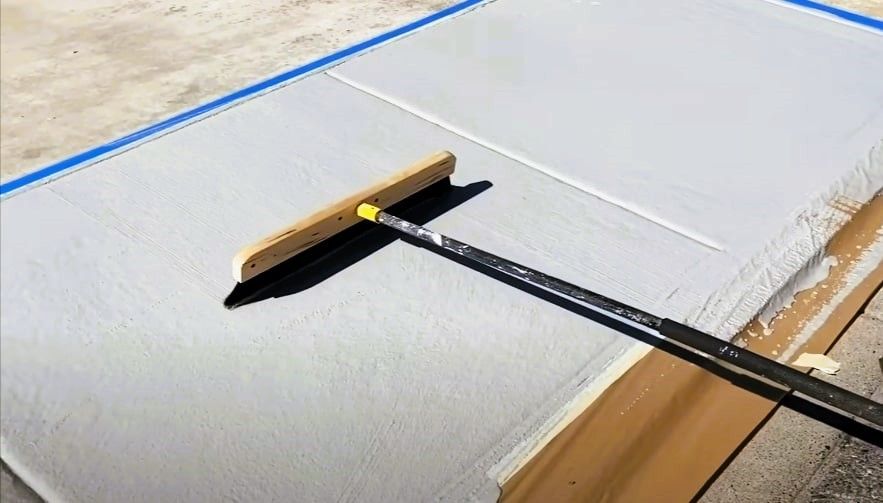
The mixture should be spread thinly, about 1/8 to 1/4 inch, with a squeegee. Once the mixture is down, it's imperative to act quickly before it starts to set.
Step 4: Troweling and Finishing
Once you've spread the mixture, it's crucial to make sure it's even and consistent in thickness. Use a trowel to smooth it out if you need to. For a bit of slip resistance, hang tight for about 5 minutes and then gently brush over the surface with a nylon-bristled concrete broom to give it a nice, safe texture for walking.
If you've used peel-and-stick foam weather stripping in the concrete joints, wait 20 minutes before pulling it out.
Remember, you'll have to stay off the surface for about 6 hours to let it set properly. If rain is forecast, covering up the area is a smart move to protect your work. Give it a full day, 24 hours, before driving over it.
Conclusion
Are you thinking about giving your old concrete surfaces a facelift without spending a fortune? Concrete resurfacing is totally doable as a DIY project and can really make a difference! Just follow the steps carefully, prep well, and you're on your way to getting results that look like a pro did them, but for way less money. So, what's stopping you? Dive in and start today to see your space transform! And hey, if you ever need a bit of extra help or are looking for top-notch concrete services,
hit us up at Holland Custom Concrete. We're all about delivering quality work to spruce up your outdoor areas. Give us a shout to learn more about what we can do for you!

