How to Create and Install Your DIY Concrete Pavers
Add a more personal touch to your concrete pavers.
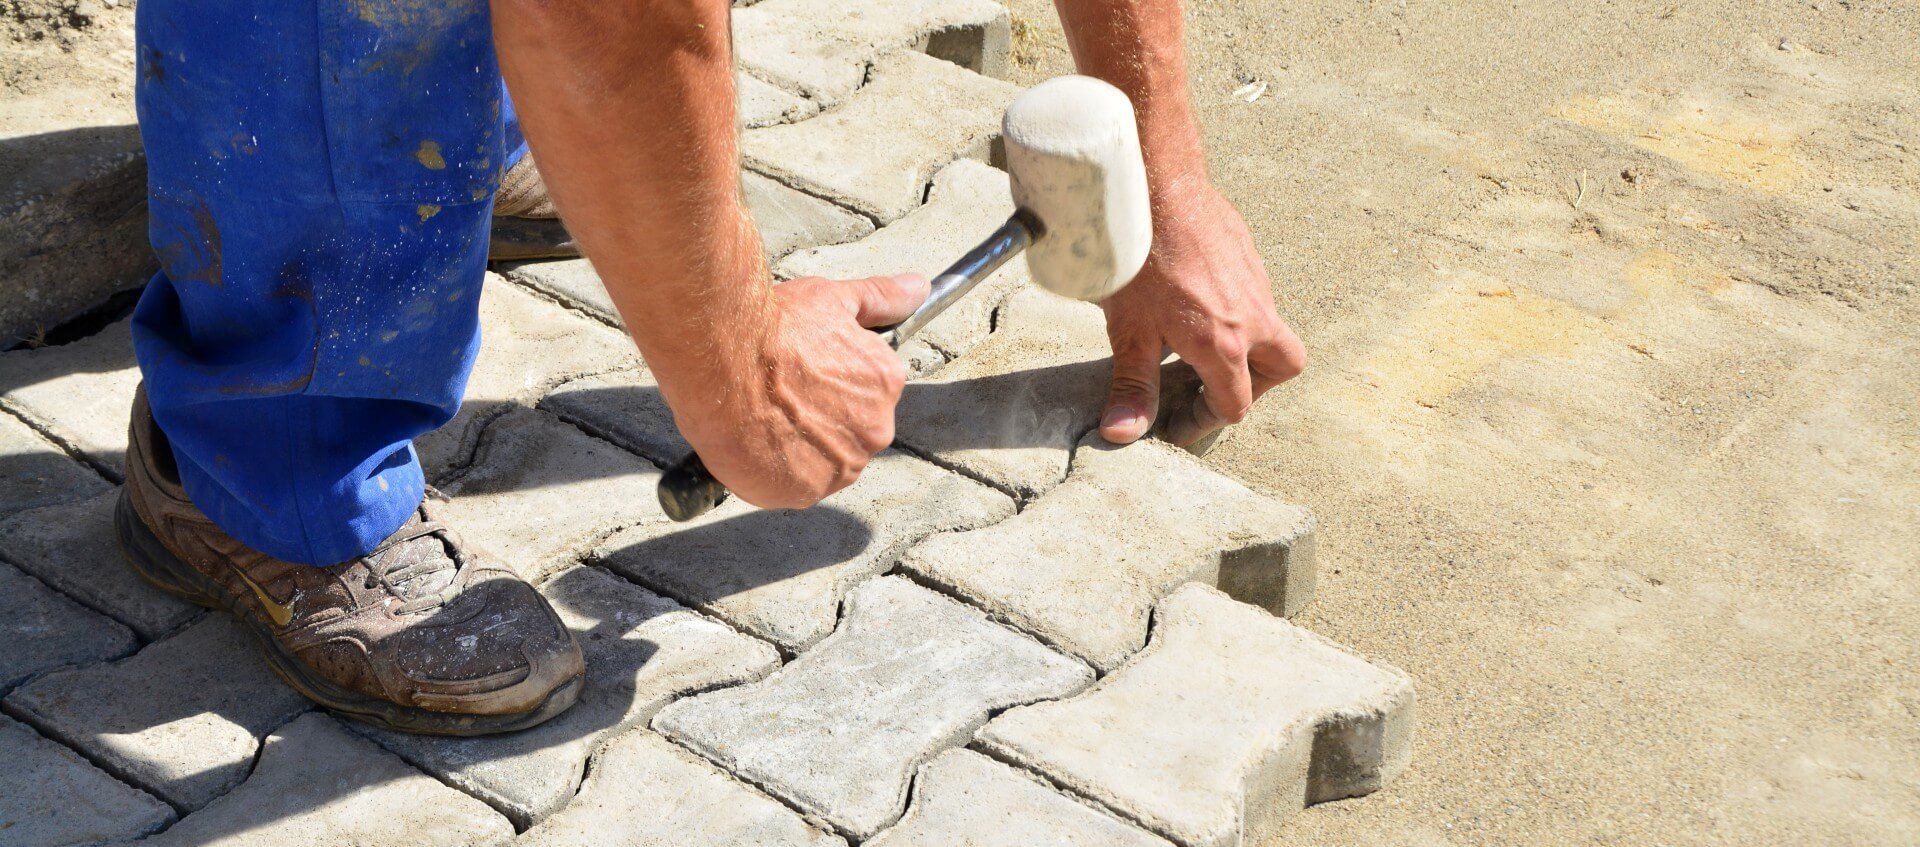
Are you craving to beautify your outdoors and add a personal touch to your garden or yard? Do you also want to learn a new skill or improve your DIY prowess simultaneously? Why not make your own concrete paver?
Unlike other building materials, concrete pavers are
DIY-friendly. Thanks to that, homeowners can further tweak the already customizable concrete paver, infusing their style into the design.
And without further ado, here’s how you create and install your DIY concrete pavers.
1. Buy, Build, or Find a Mold
The beauty of making your own paver is you call the shots and decide what your paver looks like. That also means you’re free to choose whether you want to buy or build your own mold. If you want to be resourceful, you can also find a mold for your pavers using household items like an old tin pan or deep baking trays you no longer use.
2. Plan and Lay Out the Location
Before you start mixing your concrete, stake out the location where you want to place your pavers. This way, you’ll be able to know how many you’ll be making and envision where you’ll be placing them. You can also take this step to prep the area for the pavers. Shoveling or raking it will help you outline your paver location and get a clearer vision of your plans.
3. Mix Your Concrete
Make your concrete by mixing your ready-made concrete mix and water in your mixing bin or wheelbarrow. You should stir in enough water to create a mud pie consistency or something similar to peanut butter.
4. Prep Mold and Concrete Pouring
Apply non-stick cooking spray on your mold if it’s not made of plastic. This way, you can remove your concrete without any problems once it dries. When pouring concrete, pour in the middle and move the mold around for even distribution. It’s best that you don’t fill your mold all the way to the top. You will need the space to add in your colored mix. Once poured, make sure there are no bubbles in the mixture, and you can do so by tapping the side of the mold a couple of times. Patting your mix with a rag, paper towel, or sponge will remove the excess water and hasten the drying process.
5. Designing and Coloring Your Paver
If you want to color your paver, this is the time for you to get to it. With the remaining concrete mix, add your chosen color. When the color is mixed evenly with the concrete, spread it on your base layer. You can now add designs like sea glass, marbles, hand prints, etc. Be creative, and feel free to express your style and personality.
6. Let it Dry and Fill it In
Let your concrete paver dry for at least 24 to 48 hours. Gently remove it from the mold and place it in the location you prepped for it; your patio, the driveway, or even pool deck. Fill in your outline with gravel, pebbles, decorative rocks, or wood chips, and enjoy.
And that’s how you make and install your own concrete pavers. Finishing this project can be rewarding, but you must give time, effort, and some love to pull this off.
Are you ready to start making your own pavers but still need to figure out where to start or if this project is really for you?
Contact us, and our concrete contractors will be more than happy to guide you and answer all your questions about your paver project!

